April 22, 2026
Tie Dye Goddess Shirt
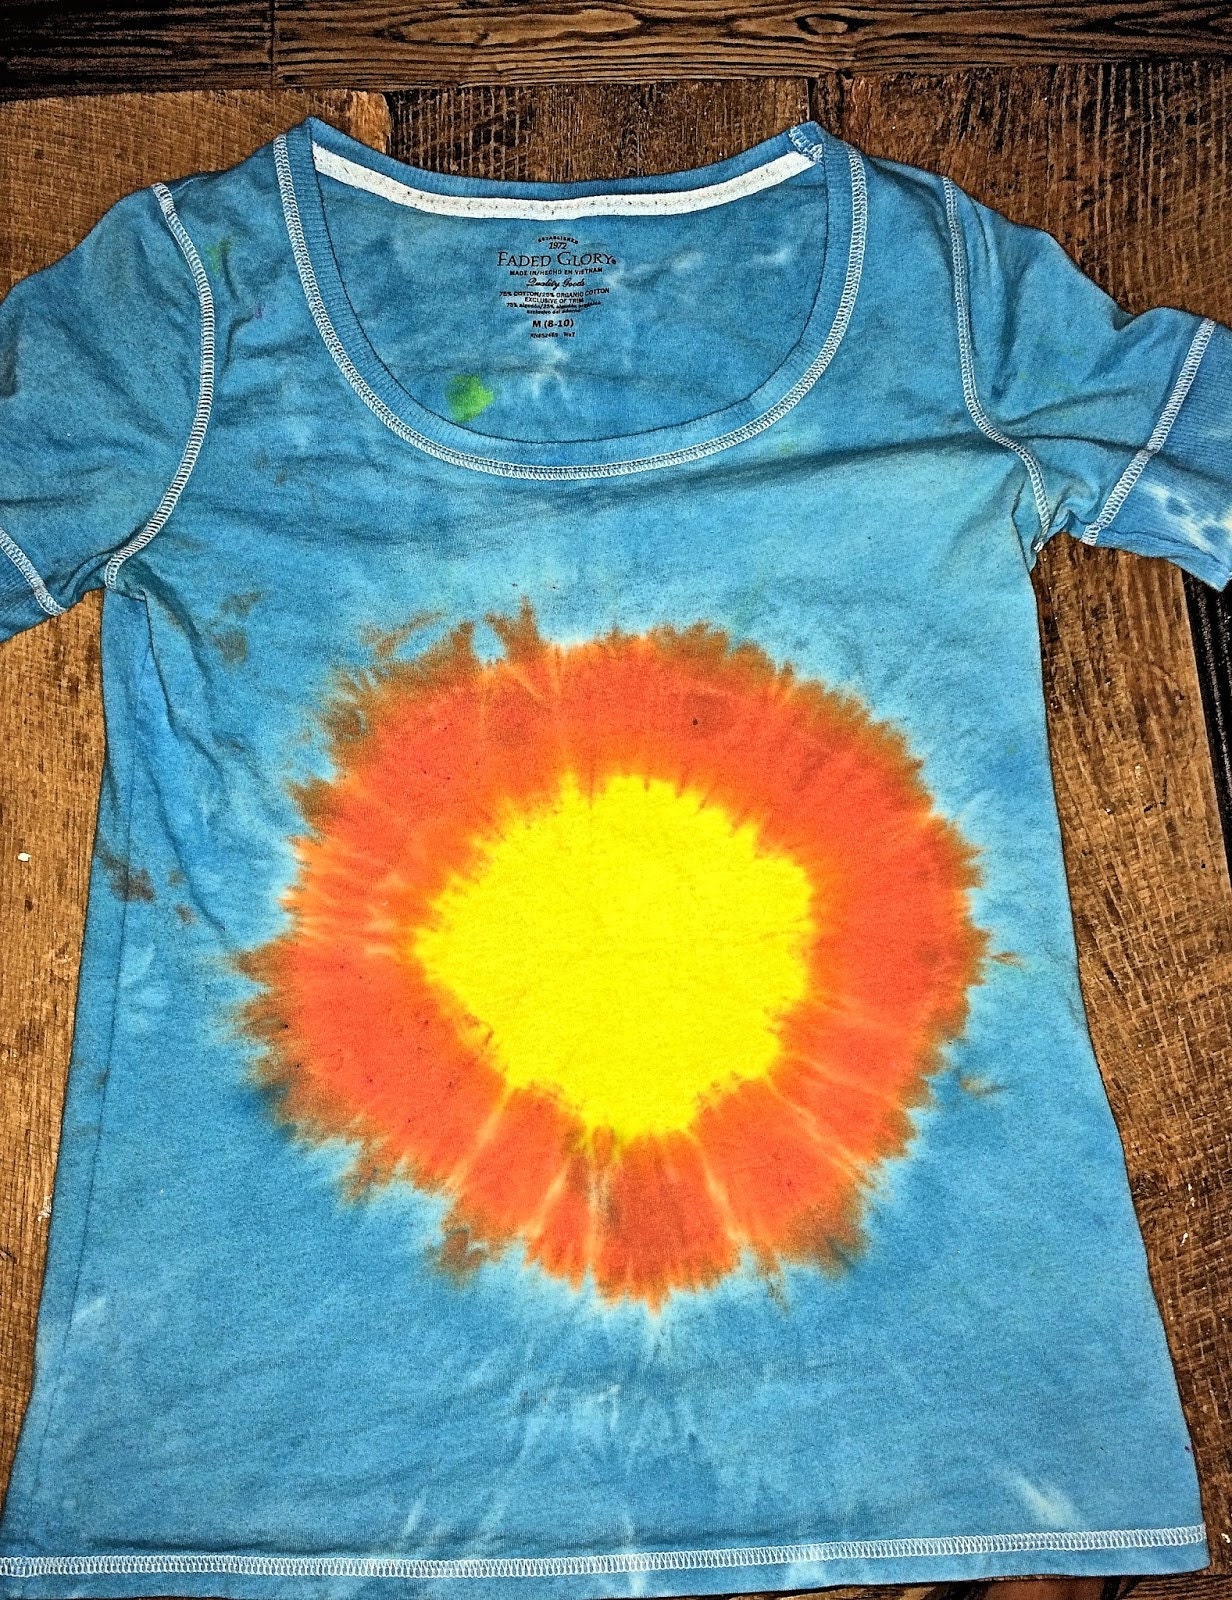
I really enjoyed making this craft for you all. I have the step-by-step instructions for you. I hope you like it too. I had a white shirt that had a couple of marks on it so I decided to make it pretty. I decided to go with a sunburst tie-dye.

I soaked the shirt in soda ash solution for 20 minutes. I wrung it out and let it air dry for a couple of hours while I worked on another craft. It was only a bit damp when I prepared it for the dyes.
To make a sunburst design, pull up from the center of the front of the shirt only. At the base put a rubber band.

Go up 1½ inches from that and place another rubber band.
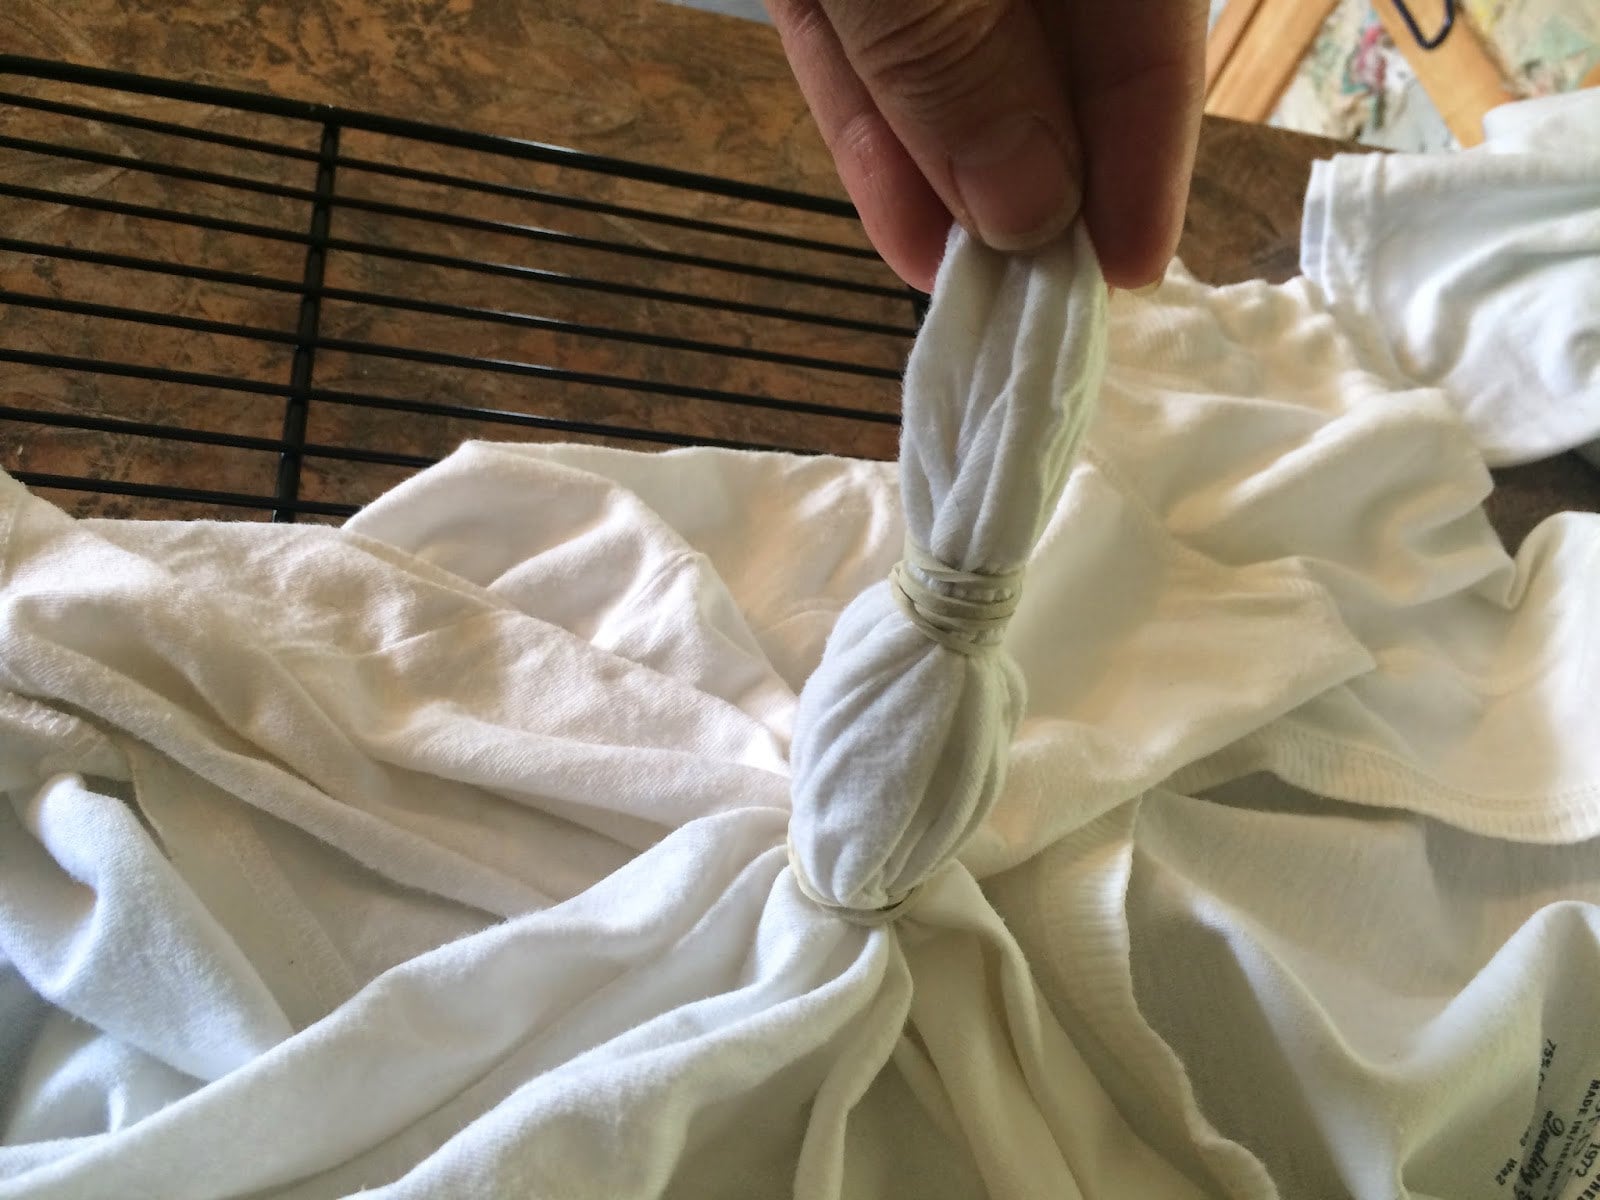
It will look like this after it is banded.

The colors that I have chosen: turquoise, yellow, and orange.
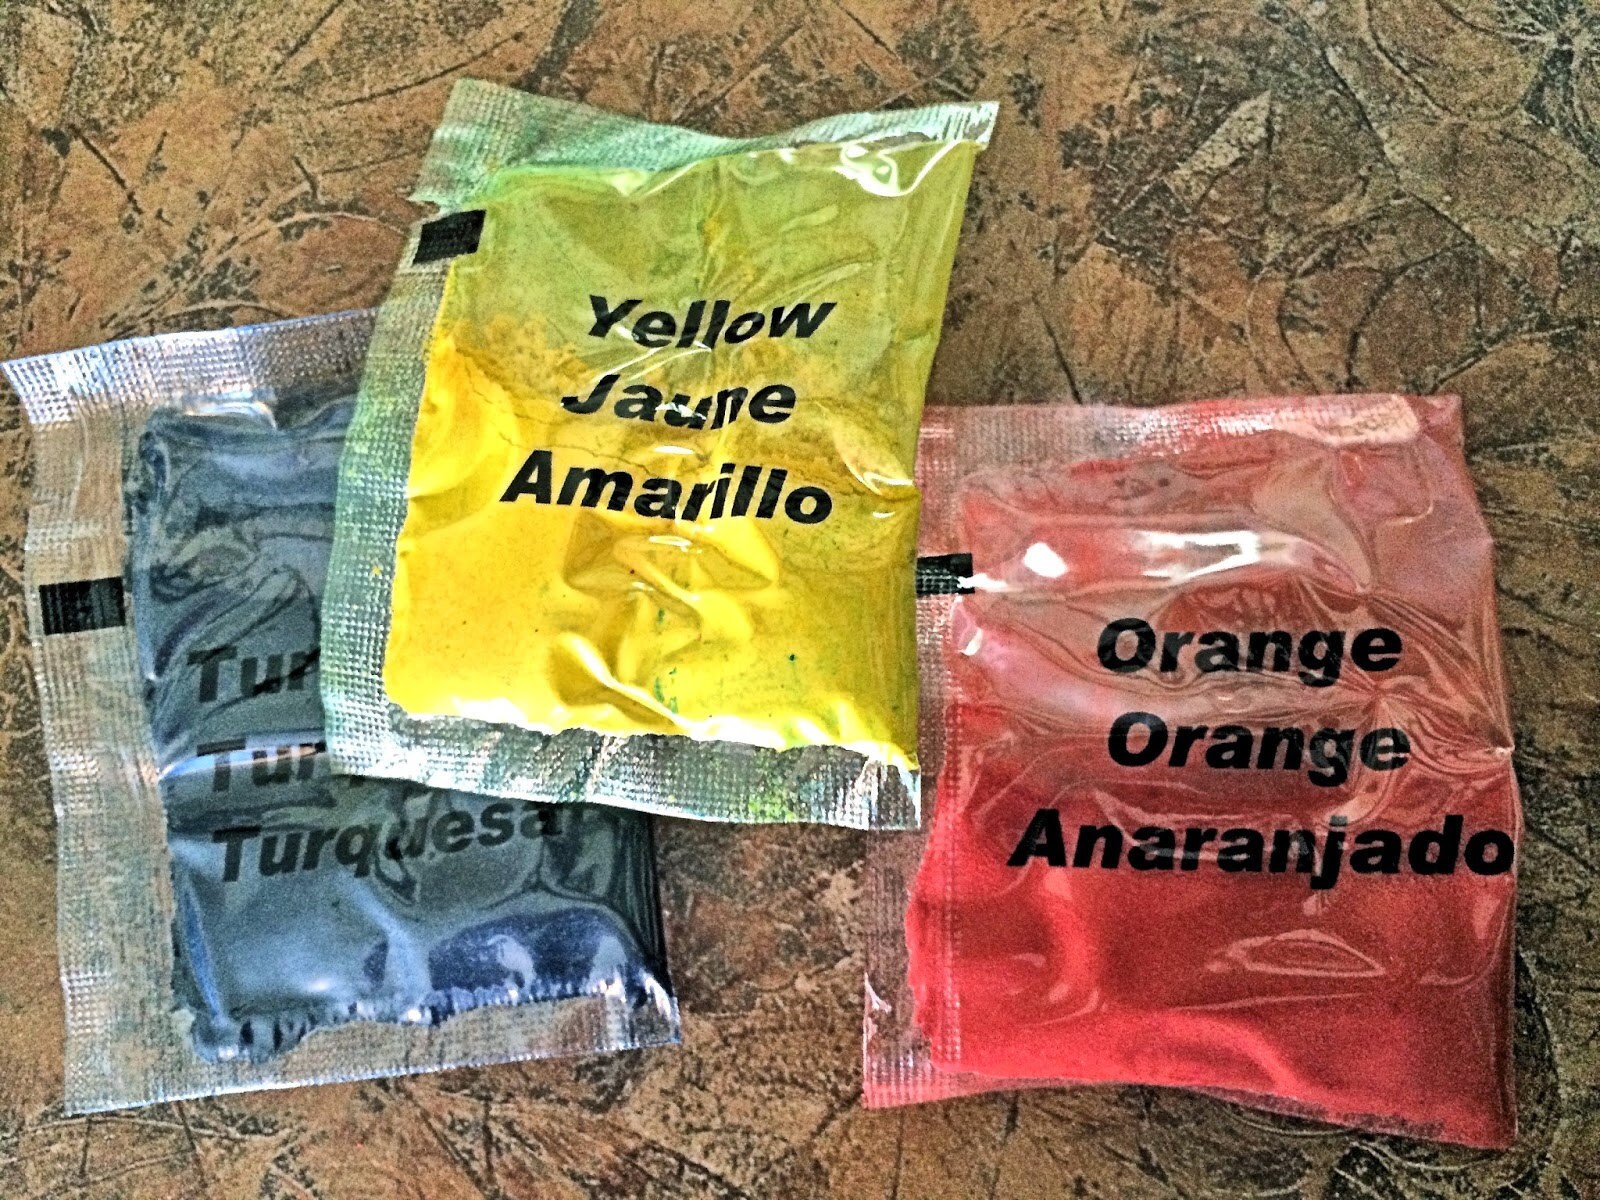
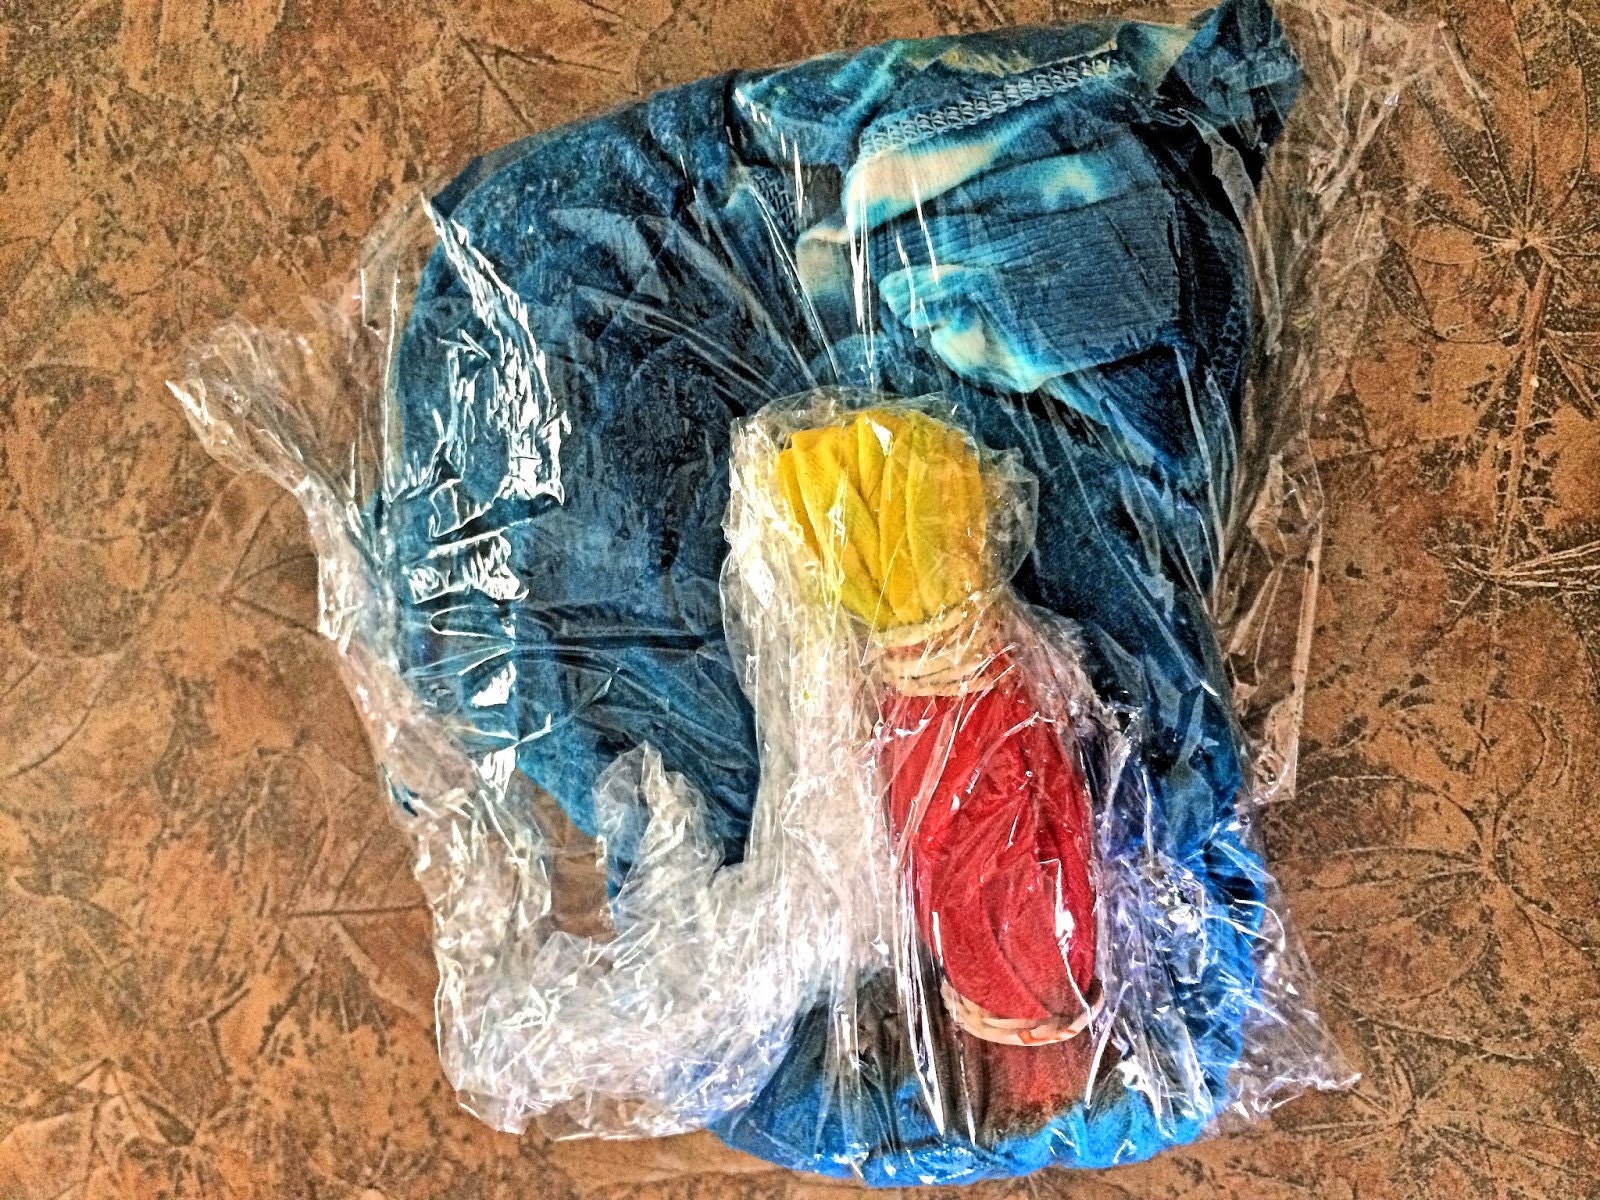
For the first section, which will be the center of my sun, I used yellow. The middle section, which is the outer ring of the sun, I used orange. The rest of the shirt, I used turquoise.

After you are finished adding your dye, wrap the shirt in plastic wrap and leave it for 6–8 hours.
I left my shirt for 6 hours. Here it is after I washed and dried it in the dryer. My sunburst turned out great!
Now, I'm going to put my goddess design on the front of the shirt. I don't want it to bleed through so I put my drying rack inside the shirt and some folded plastic.

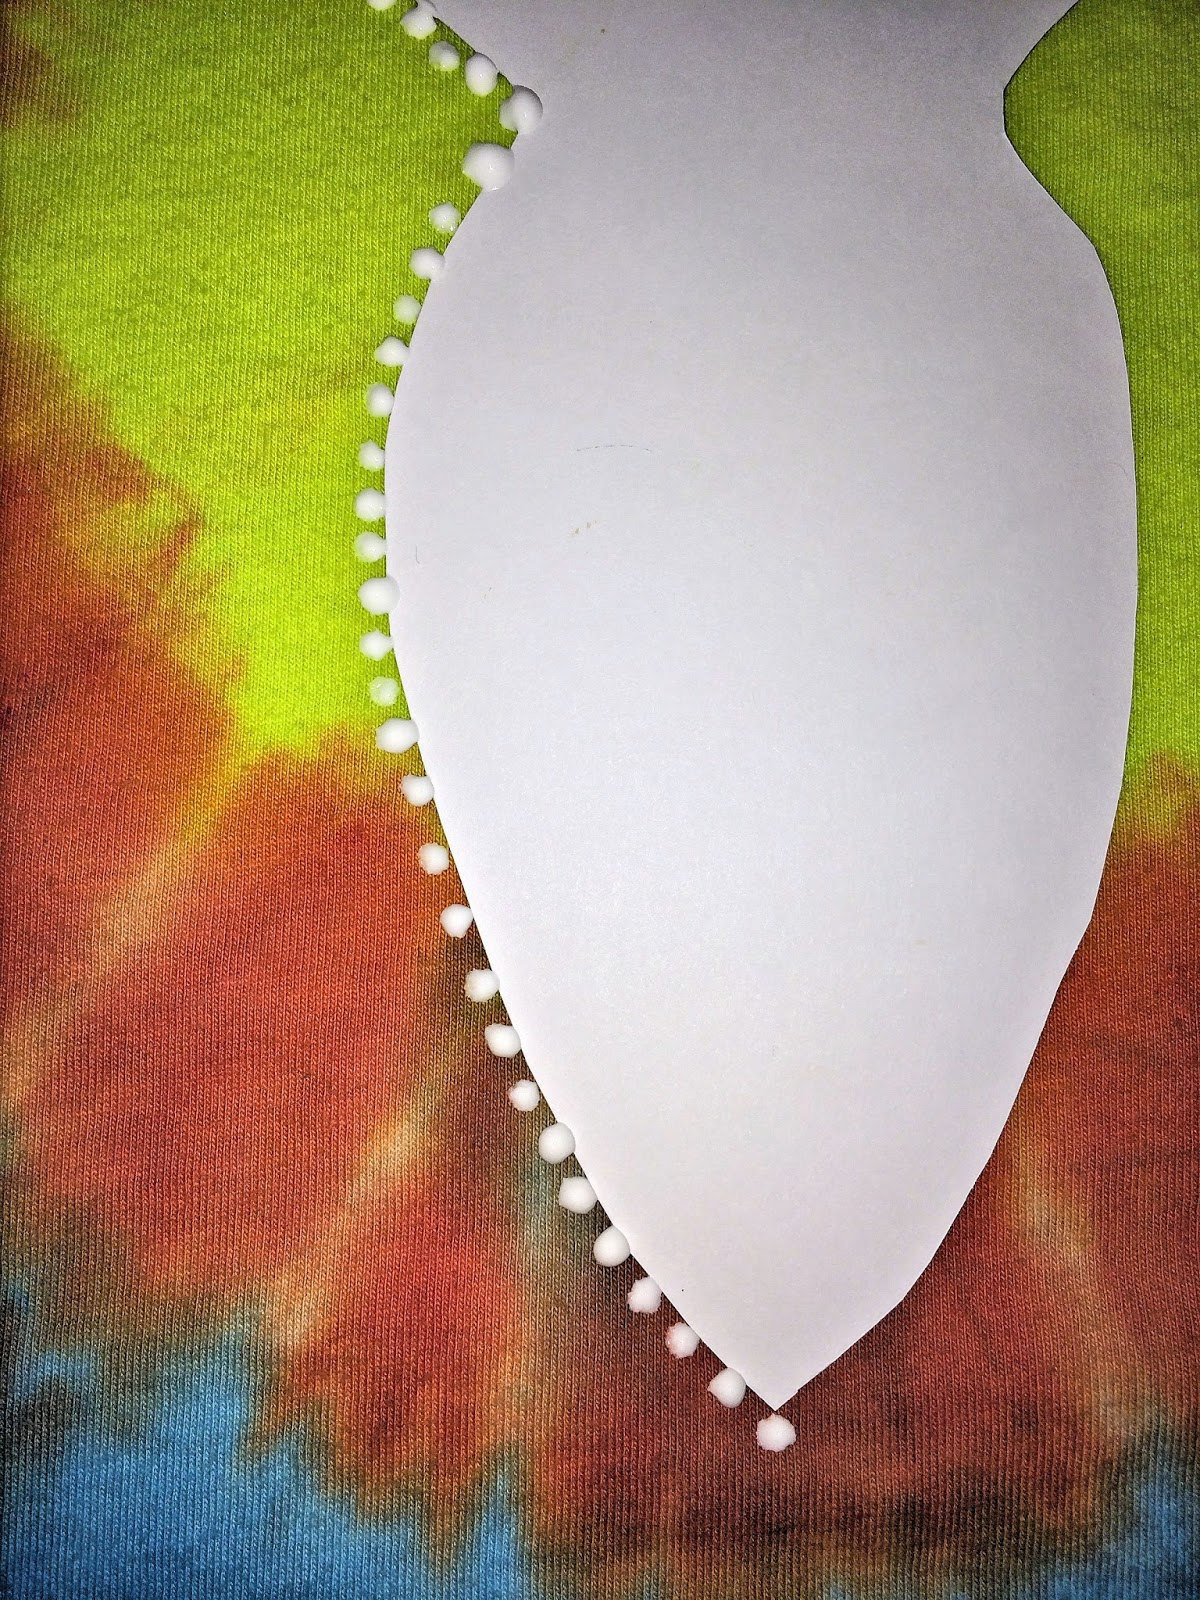
I cut out this goddess pattern in cardstock and centered it on my sunburst. Here's the pattern — I printed it full size on a sheet of cardstock and cut it out.


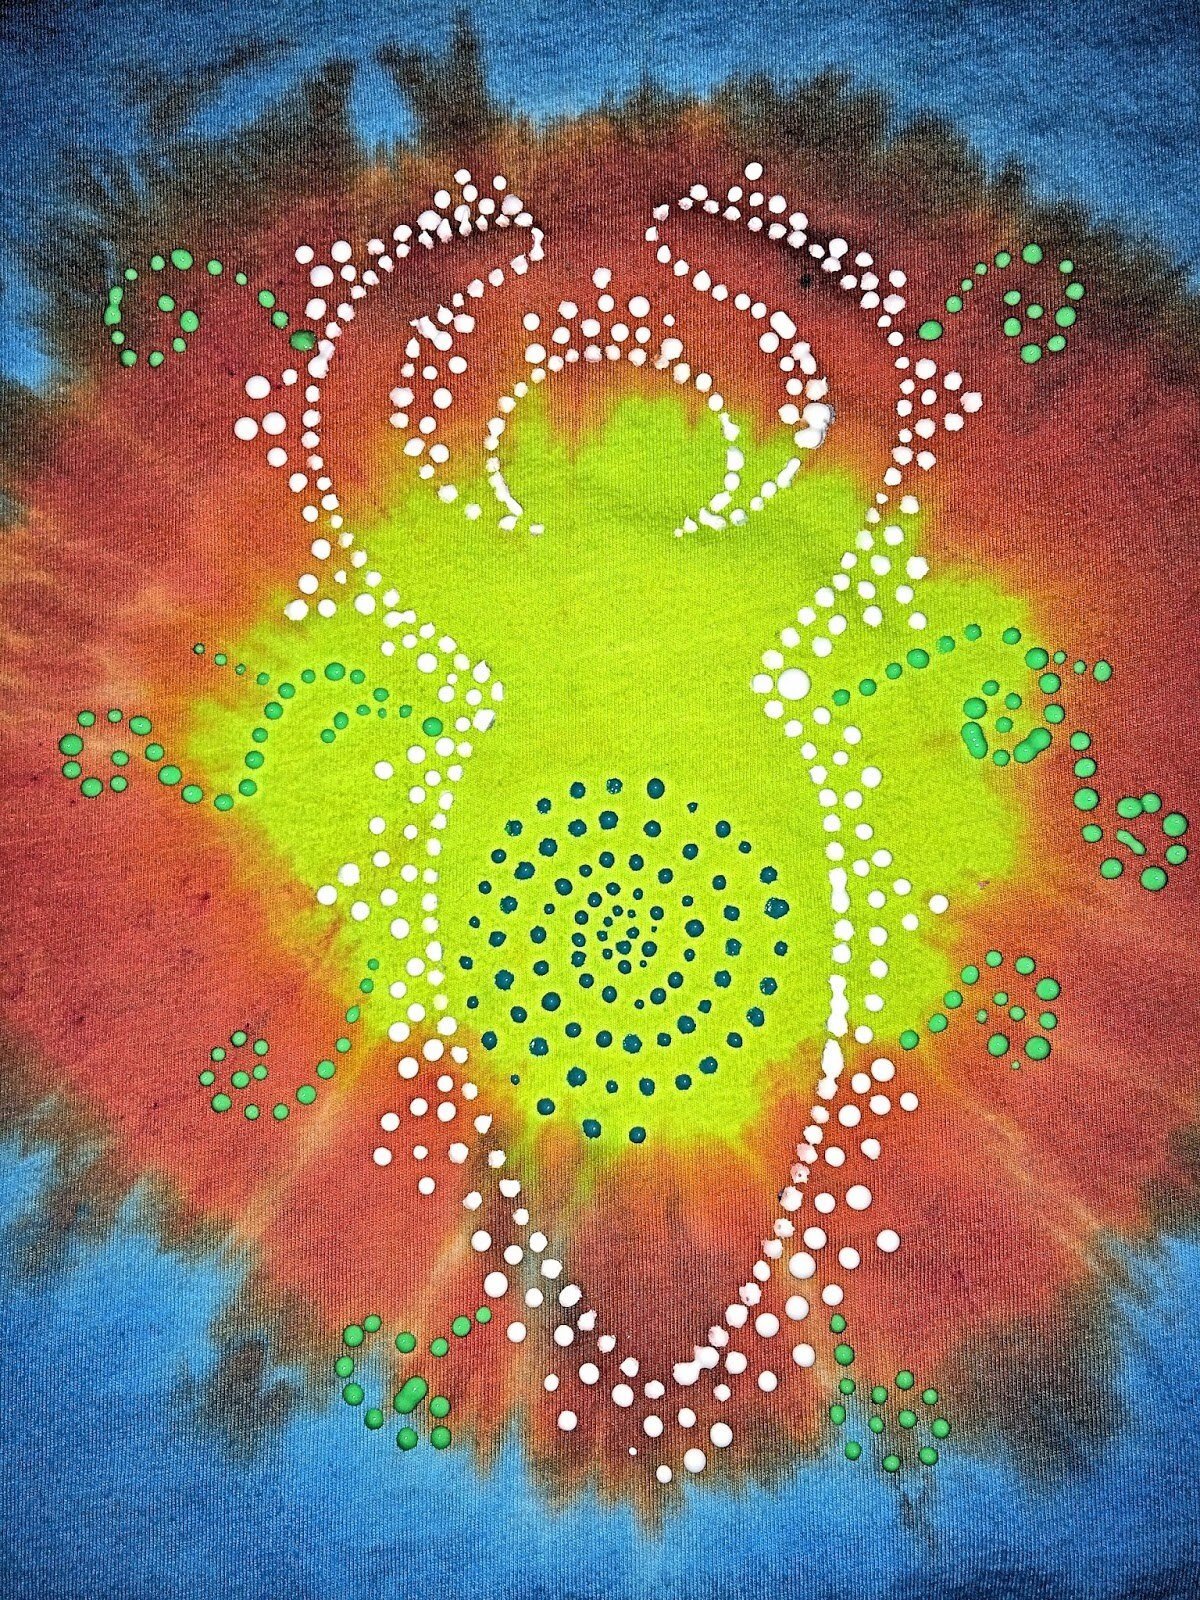
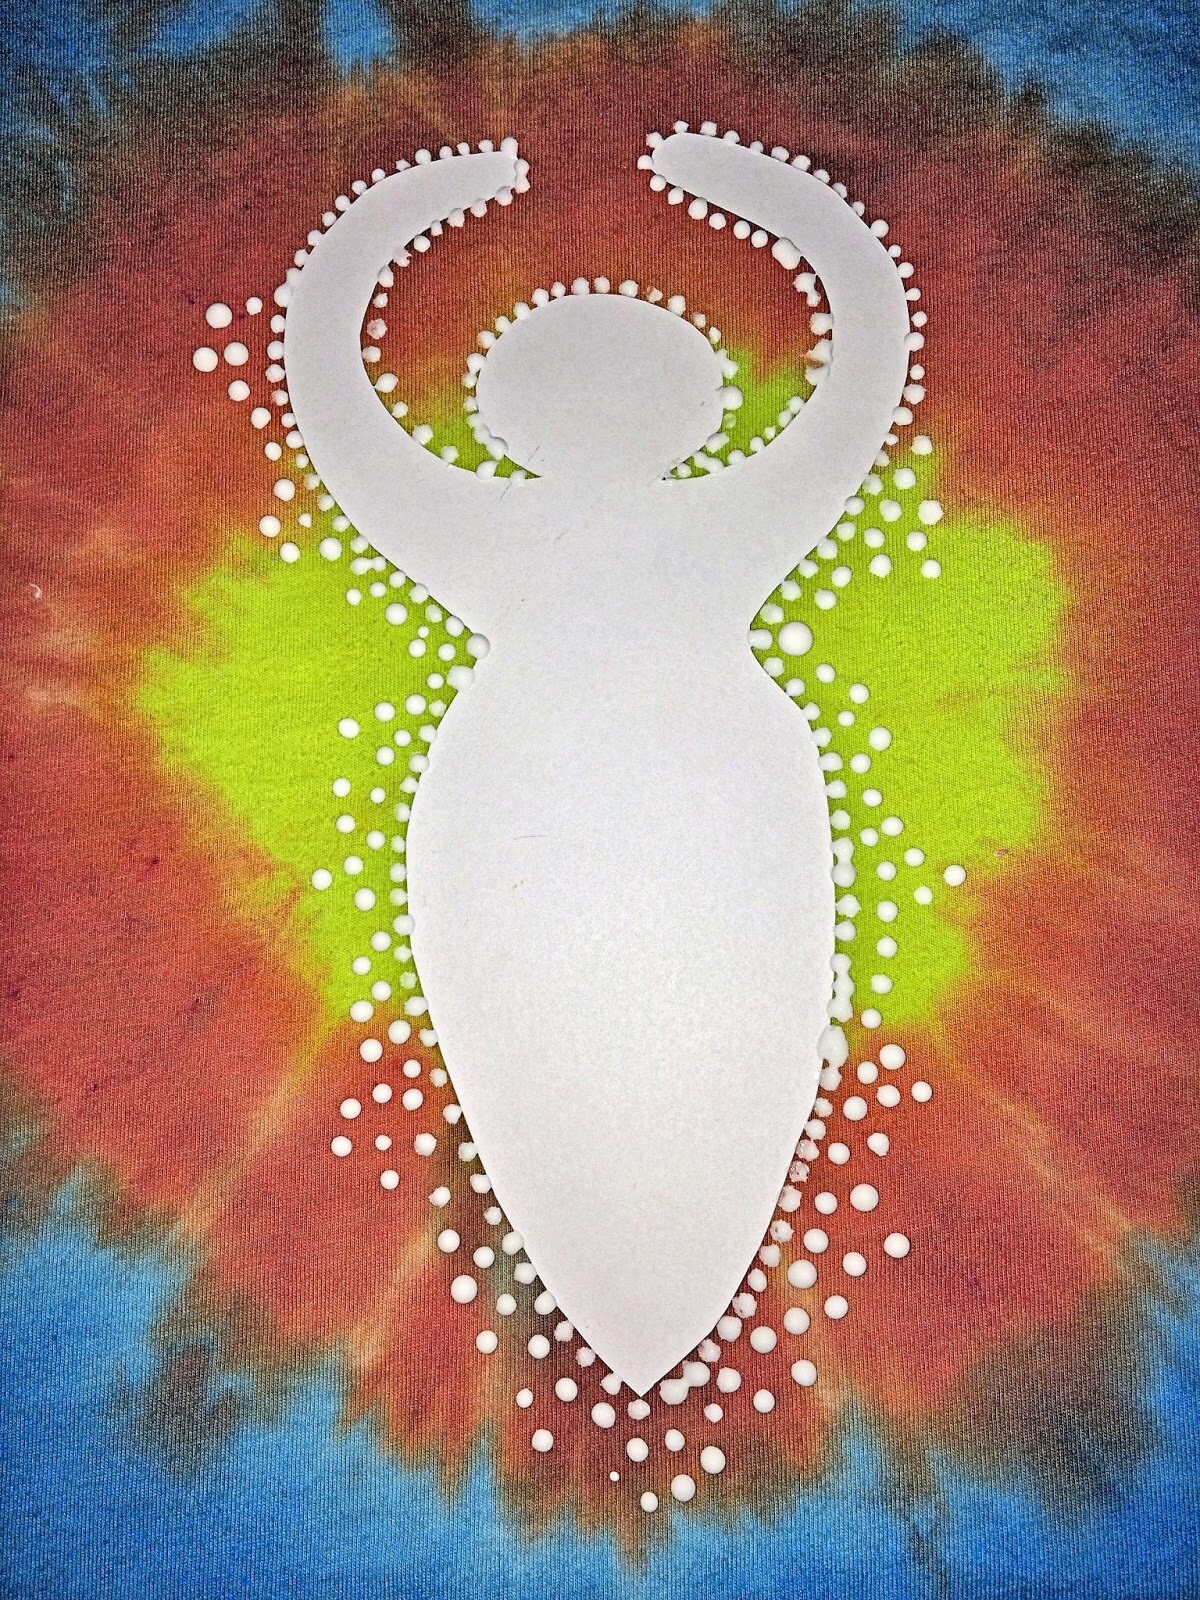
For this I am using Tulip puffy paint. I went around the outside of the pattern in dots. Continue this all around the goddess.
Now, just go around adding varying sizes of dots going outward from the goddess. Place them where you like. Let them begin to "set". After about 15 minutes you can slowly pull the paper goddess off.
I wanted to give it a bit of vine color so I took the green puffy paint and placed random vine designs around the goddess.

Here it is with the paper goddess pattern removed and the vines added. The dots are still NOT dry — so please be careful with those. It will take a while for them to dry.

Now I have decided that I want a spiral inside my goddess, so I used blue puffy paint for that.

Leave overnight to dry. If you have cats, I suggest that you put it somewhere that they can't cuddle up on your shirt.

Here I am wearing my finished product!
Go Deeper
Support on Patreon
Exclusive content, early access to new products, in-depth tutorials, and a closer look at the practice behind Primitive Witchery.
My Patreon